Sewing a zipper might seem intimidating at first, especially for beginners. The tiny teeth, the precise stitching, and the fear of getting the alignment wrong can make many people avoid zipper projects altogether. But once you learn the right techniques, sewing a zipper is actually simple — and incredibly rewarding. Whether you’re making a pillow cover, a dress, or a bag, a neatly sewn zipper gives your project a polished, professional look.
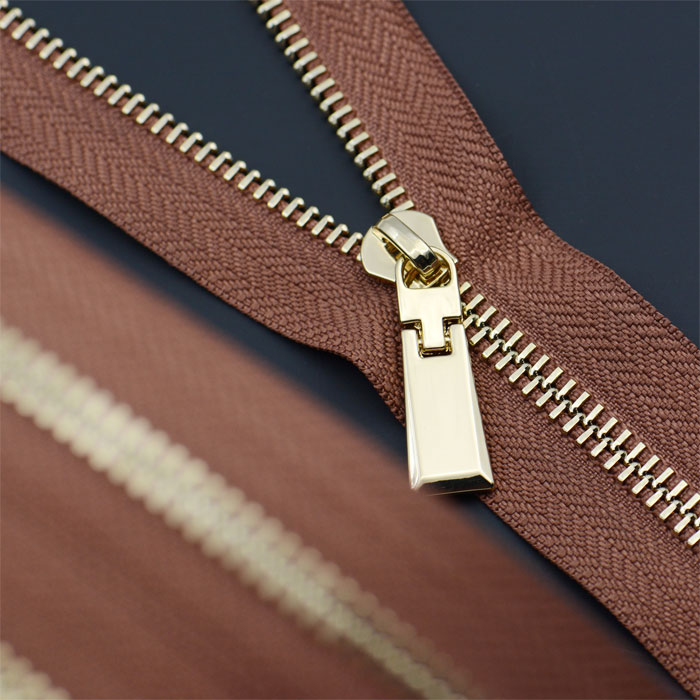
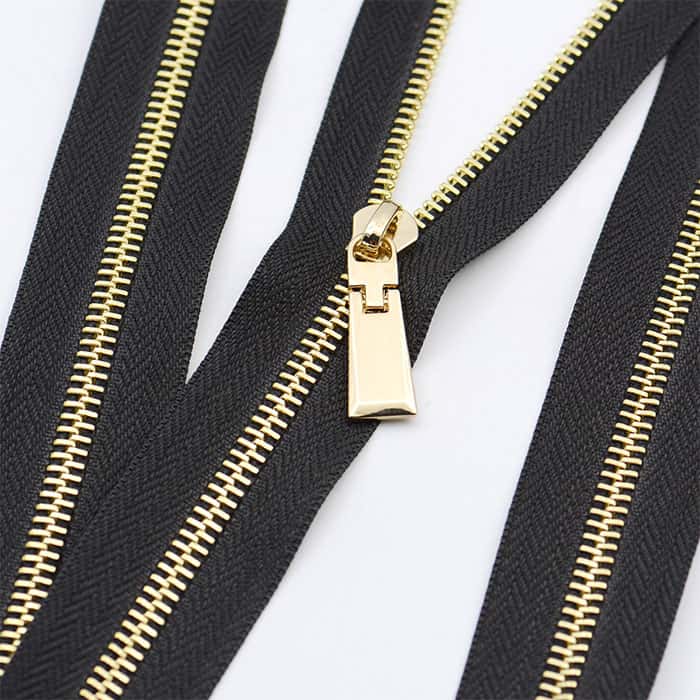
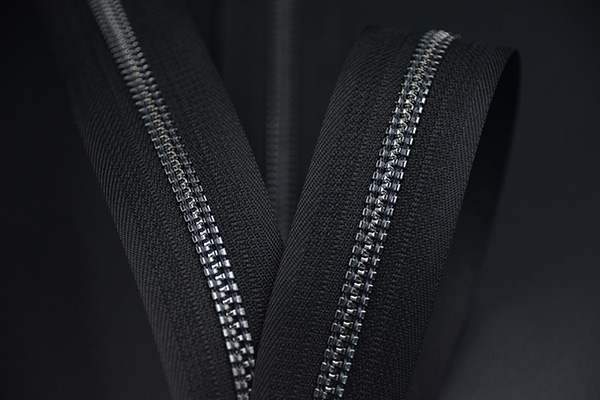
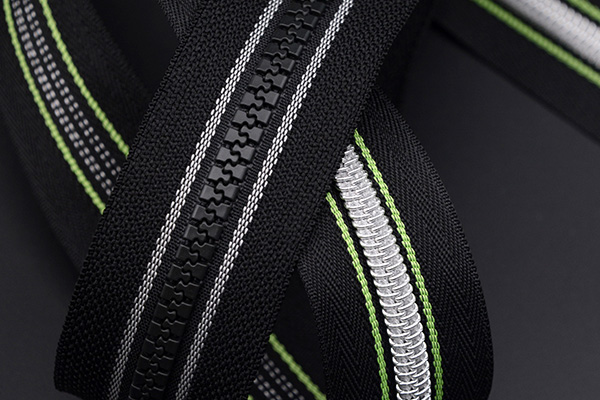
Before you start sewing, it’s important to know a bit about the zipper itself. Zippers come in several types — nylon coil, metal, plastic, and invisible zippers — each suited for different sewing projects.
Choosing the right zipper type and length is key to ensuring your project looks and functions perfectly.
To sew a zipper properly, you’ll need a few basic sewing tools. Here’s what you should have ready before you begin:
Wooshi zipper foot is especially important because it allows your sewing machine needle to stitch close to the zipper teeth without obstruction, giving you that neat, professional finish.
Before sewing, iron your fabric to remove wrinkles and ensure clean edges. Align the edges where the zipper will go, and finish the raw edges if necessary using a zigzag or overlock stitch — this prevents fraying over time.
If you’re working on a garment or pouch that requires a specific zipper length, double-check the measurement so the zipper fits perfectly within the seam. Mark the start and end points of your zipper placement with fabric chalk or pins.
With your fabric pieces facing right sides together, pin or clip the zipper in place along the seam allowance. The zipper teeth should face down against the fabric edge, and the pull tab should align with the fabric top edge.
If your project has a lining or folded seam, make sure all layers are properly aligned before pinning. This step ensures that the zipper will sit flat and straight when you turn the fabric right side out later.
For beginners, basting — or temporarily stitching — the zipper in place before final sewing can make a big difference. You can baste by hand using large, loose stitches or use a long stitch on your sewing machine. Basting keeps the zipper from shifting as you sew and helps achieve a straighter line. Once your final stitches are in place, you can remove the basting thread easily.
Now it’s time for the main event! Attach your zipper foot to the sewing machine. Start sewing from the top of the zipper, keeping your stitches close to the zipper teeth but not so close that the slider gets caught.
When you reach the zipper pull, stop with the needle down, lift the presser foot, and move the pull past the needle so you can continue sewing evenly. Repeat this process on both sides of the zipper for a symmetrical, professional look.
Take your time here — neat stitching is what makes a zipper look well installed.
Once you’ve sewn both sides, press the fabric flat using an iron on a low heat setting. This helps the zipper lay smoothly and prevents puckering. Then, test the zipper by opening and closing it several times. It should glide easily and stay aligned without bunching the fabric.
If it catches or feels uneven, check your stitches — sometimes resewing one side can fix the problem. With practice, your zipper installations will start to look cleaner and more consistent.
Depending on your project, you may need to sew topstitching along the zipper edges for a polished finish and extra durability. Topstitching not only reinforces the zipper but also gives your piece a tailored look.
Finally, trim any loose threads and give your project one last press. Step back and admire your work — you’ve just sewn a zipper like a pro!
With a little patience and the right technique, sewing zippers will soon feel like second nature.
Sewing a zipper doesn’t have to be stressful — it’s simply a skill that improves with practice. Once you understand the basics and use the right tools, you can confidently add zippers to clothes, bags, cushions, and more. Every neatly sewn zipper not only adds function but also elevates the overall look of your handmade projects. So grab your fabric, thread, and zipper foot, and start practicing. Before long, you’ll be sewing zippers like a pro — opening the door to endless creative possibilities in your sewing journey.

Wooshi Zipper showed our high-quality products, including resin zippers with different tooth designs, bright and smooth metal zippers, explosion-proof double-layer nylon zippers, and various innovative zinc alloy zippers, at the Milan LINEAPELLE Exhibition.
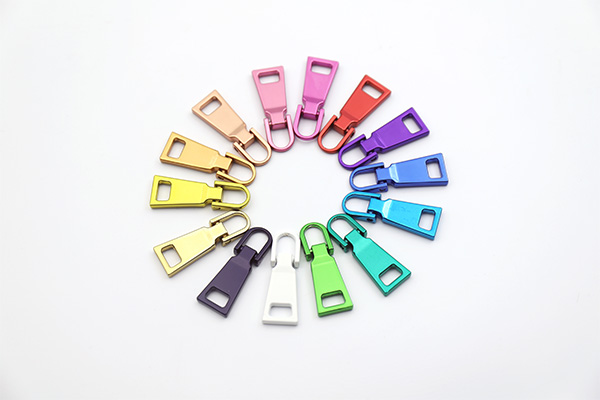
With the continuous development and progress of fashion, rich colors have been widely used in clothing, bags and other aspects. This visual sense of layering and flow can make clothing/bags more lively and interesting, and give them more creativity and possibilities. In order to better serve customers, Wooshi Zipper’s colorful coating slider came into being.
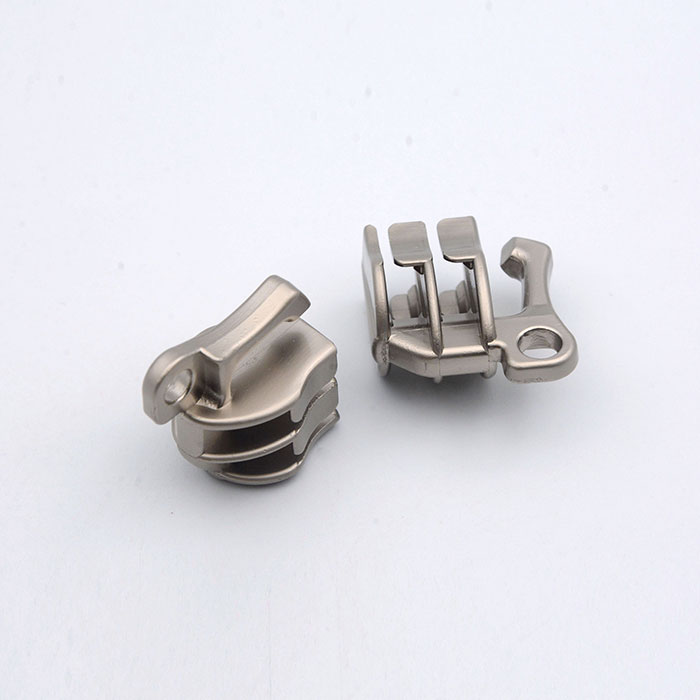
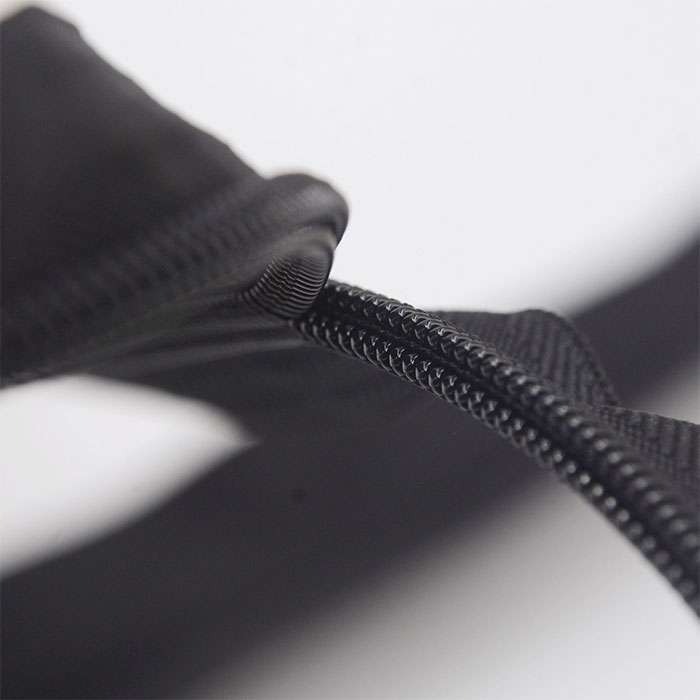
Reinforced zipper is an emerging high-tech zipper. It combines the advantages of nylon zipper, plastic zipper and metal zipper. It is beautiful and durable. It fills the gap of new zipper varieties in my country and is suitable for luggage, clothing, outdoor sports and other fields.
The luminous zippers produced by our company cover three series: nylon luminous zippers, metal luminous zippers, and plastic luminous zippers.
QUICK LINKS